Overwhelmed by SSL activation and installation? Our team of tech professionals can take care of all the hard stuff.
You can generate a CSR (Certificate Signing Request) code using Plesk Panel 12 by following simple steps below.
Note: The process is similar on all versions of Plesk (Plesk 6-12.5, Plesk Onyx, Plesk Obsidian) This guide will highlight any areas where the process differs.
-
- Log in to your Plesk Panel.
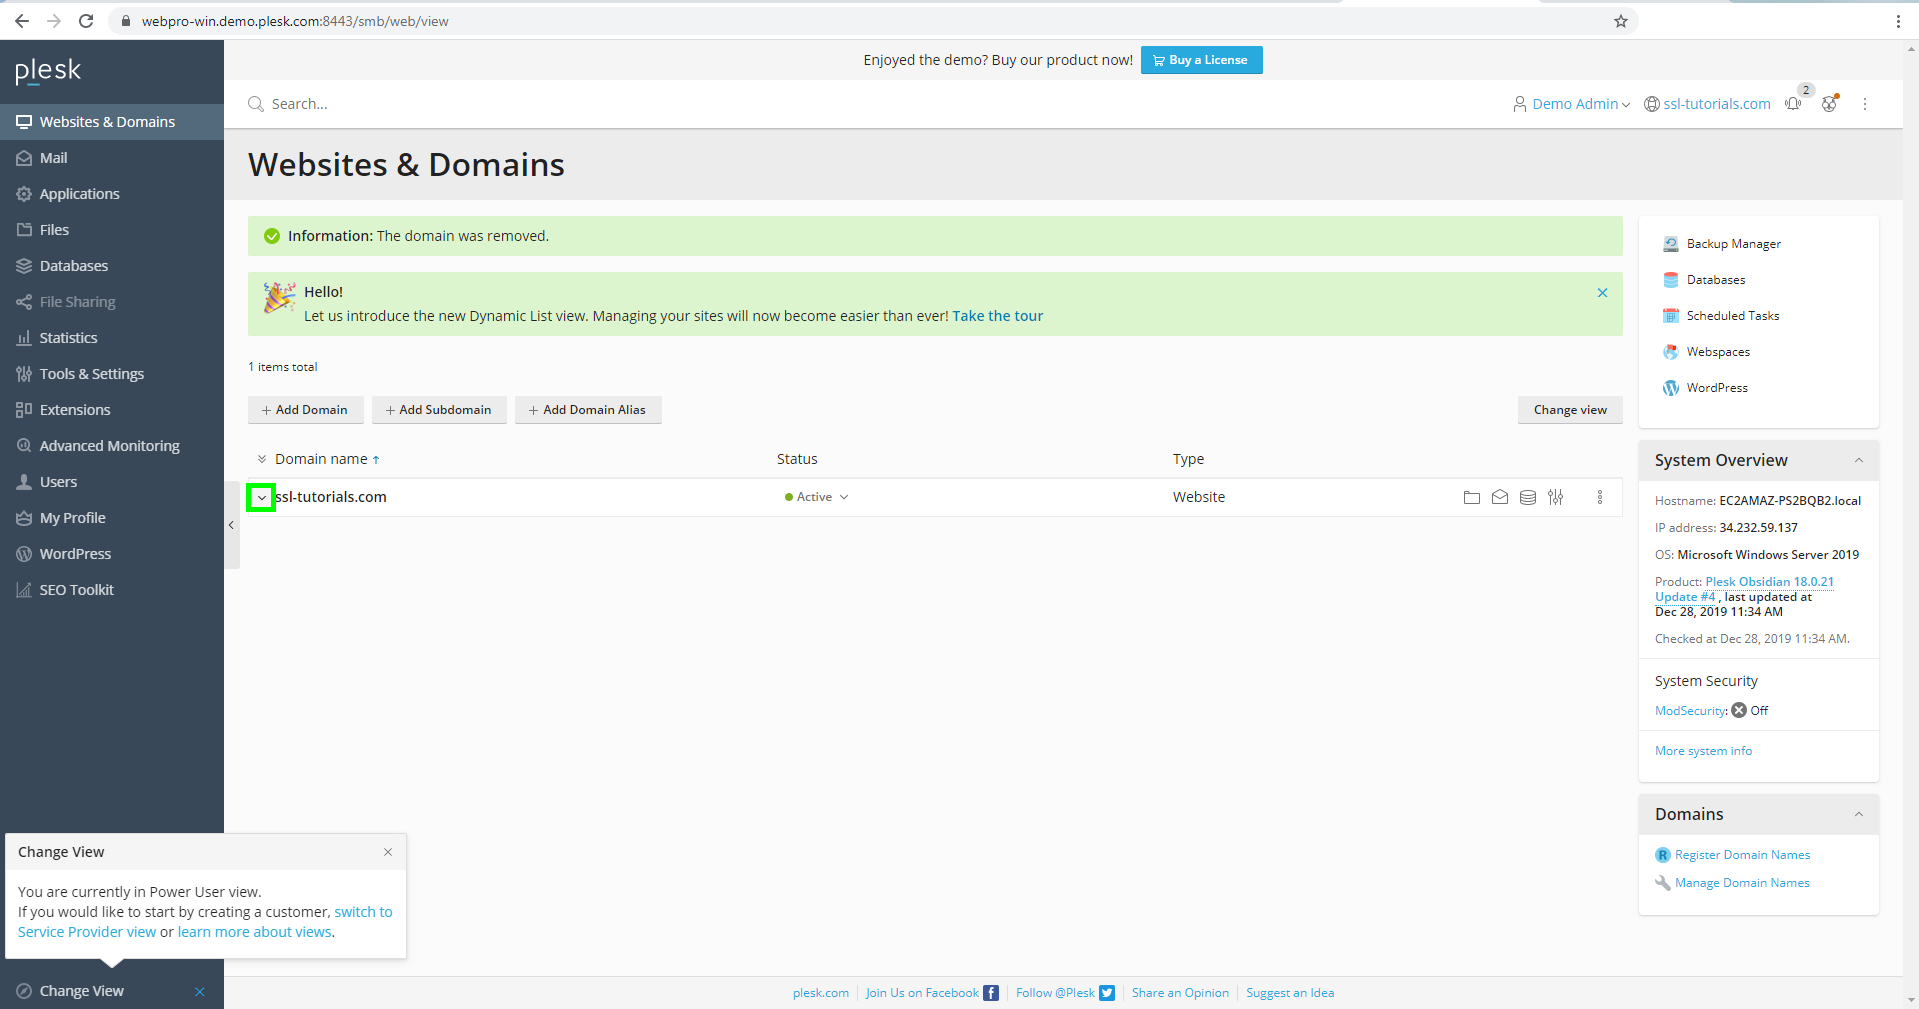
- Locate the domain you want to have secured with an SSL Certificate in the Websites & Domains tab. Open the drop-down menu under the website name.
- Next, in the Dashboard tab, navigate to the Security menu and click SSL/TLS Certificates.
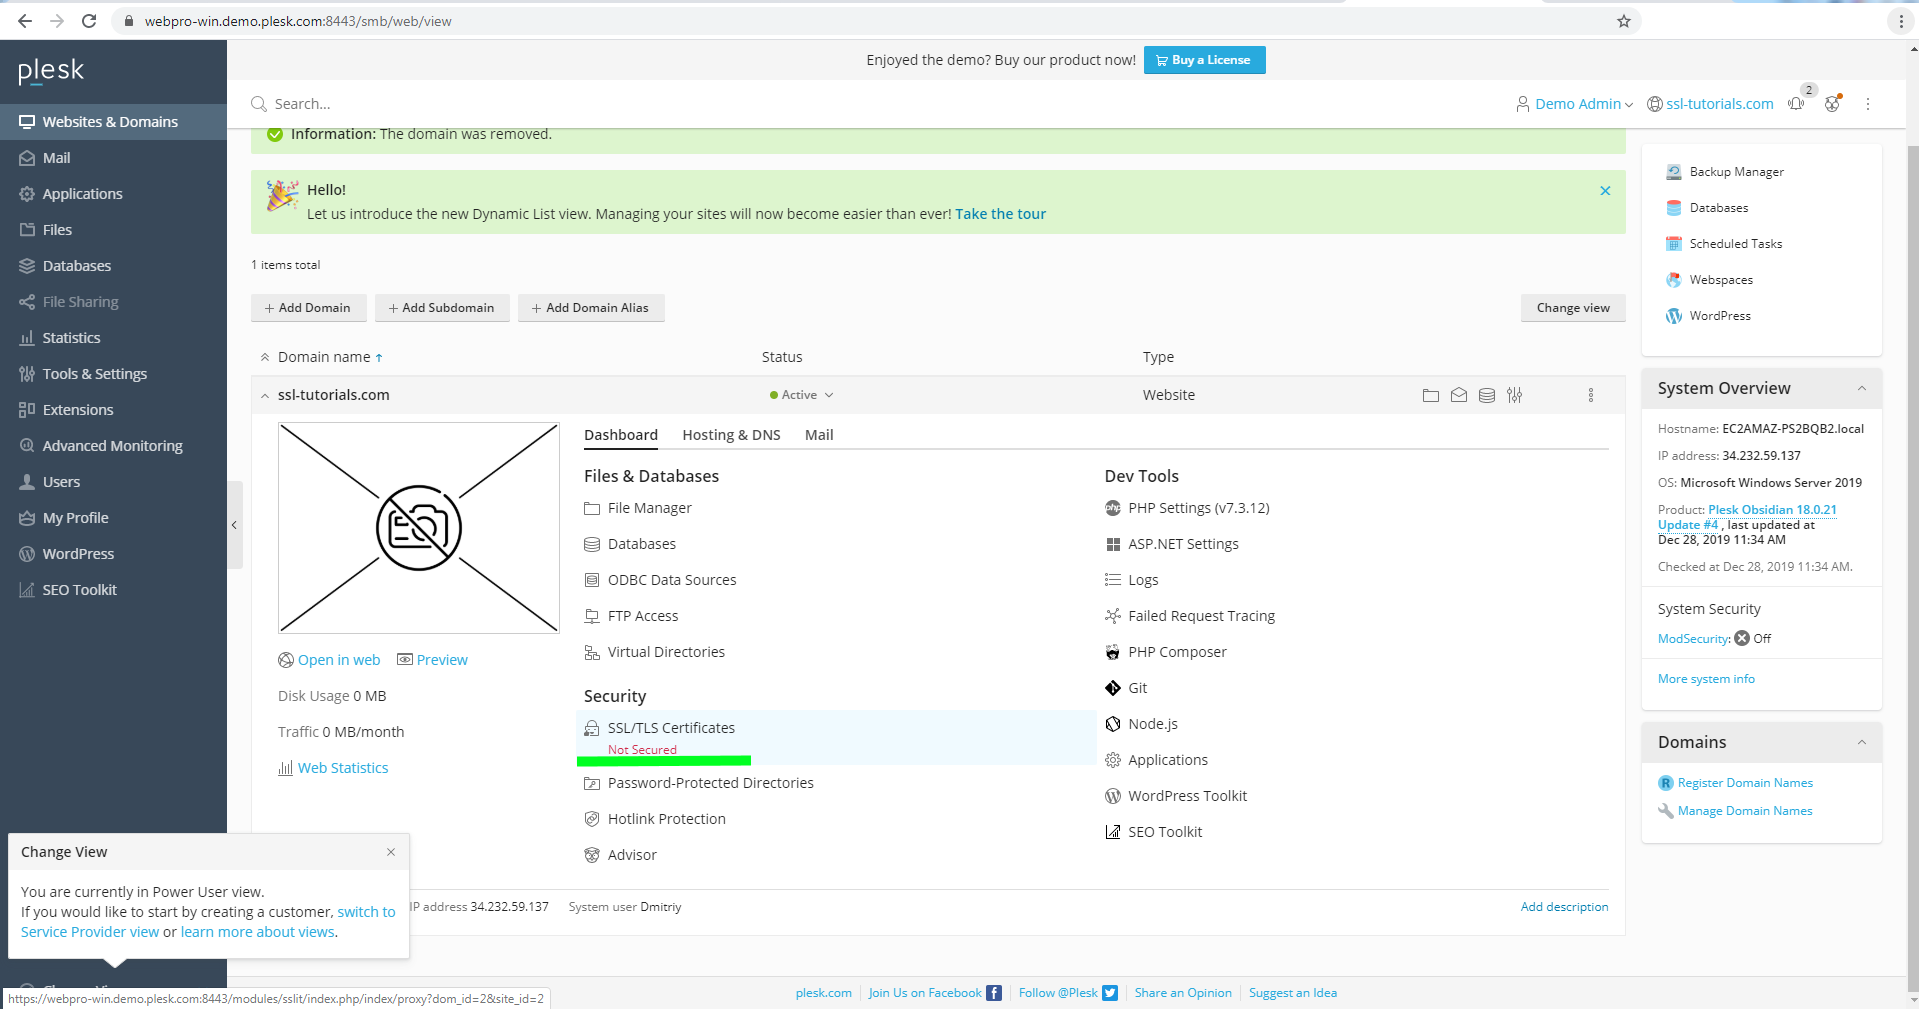
Note: On the older versions of Plesk (up to Plesk 12.5) it is called “Secure Your Sites” instead of “SSL/TLS Certificates”.
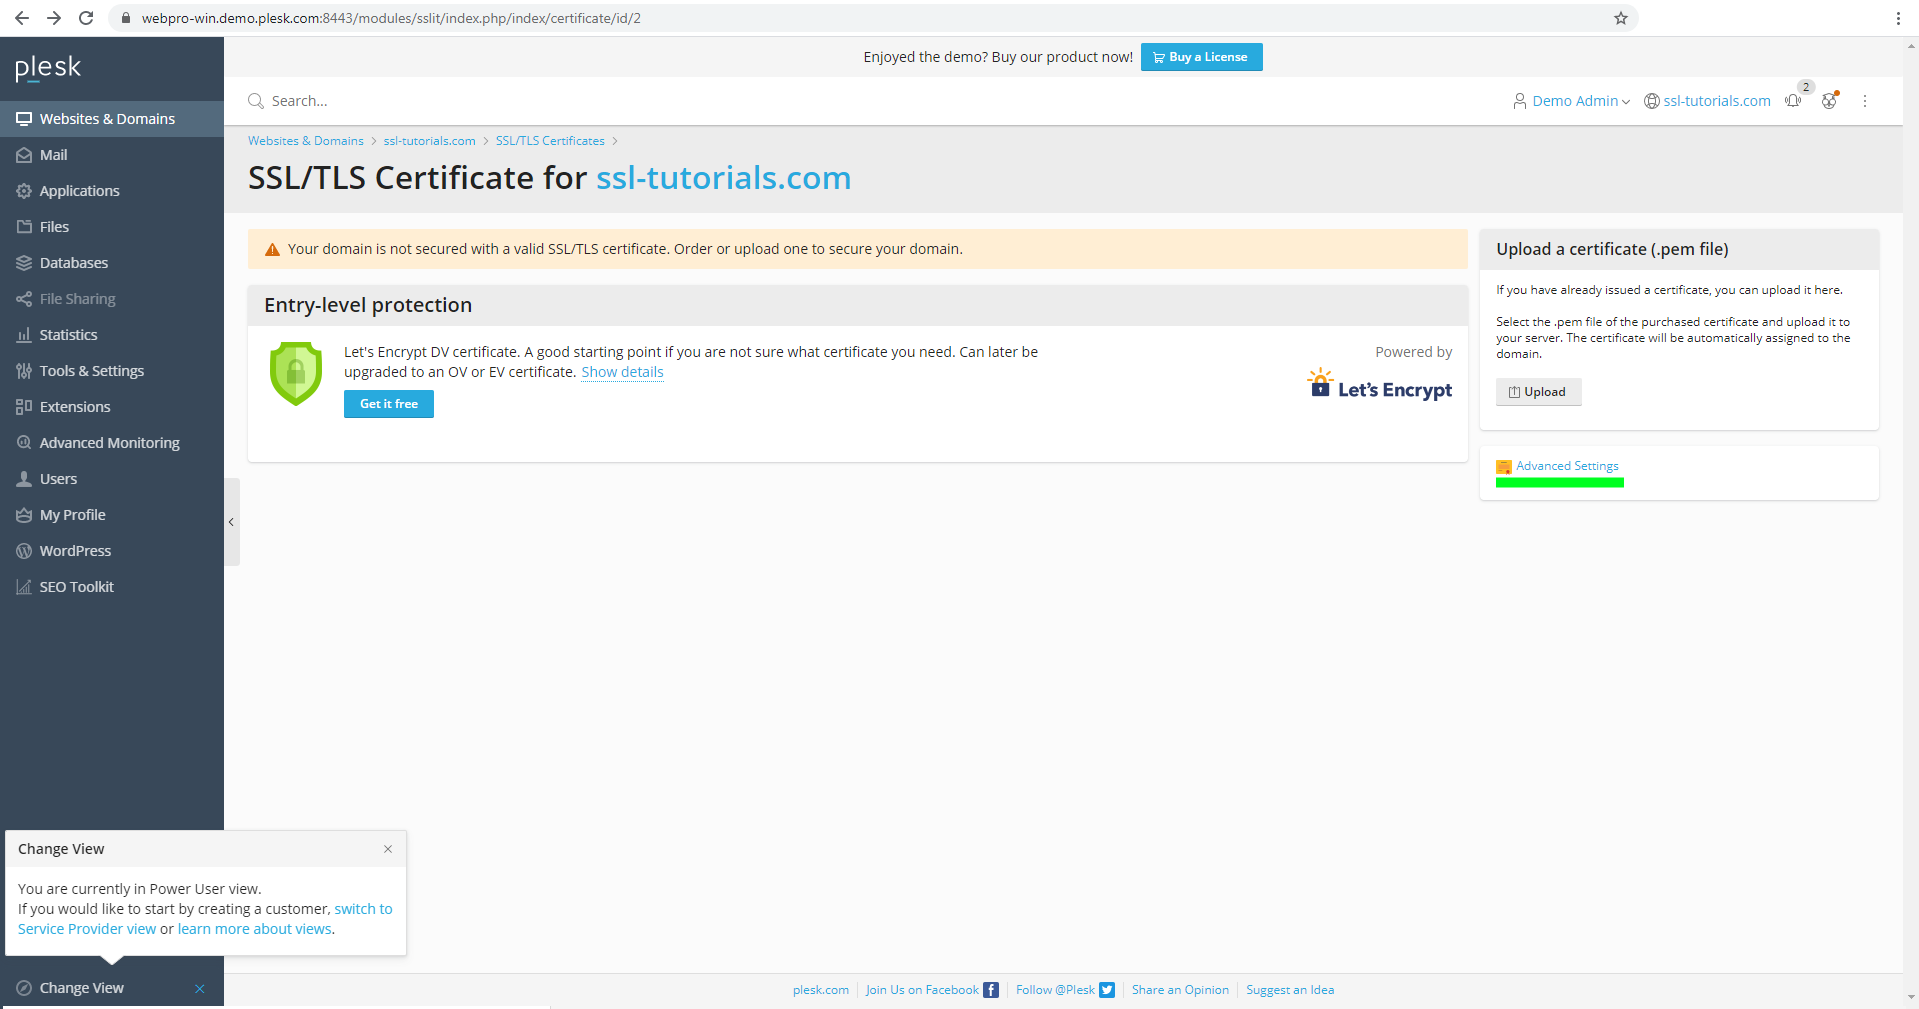
- Click Advanced Settings, located on the right side of the screen, to open a new SSL setup panel.
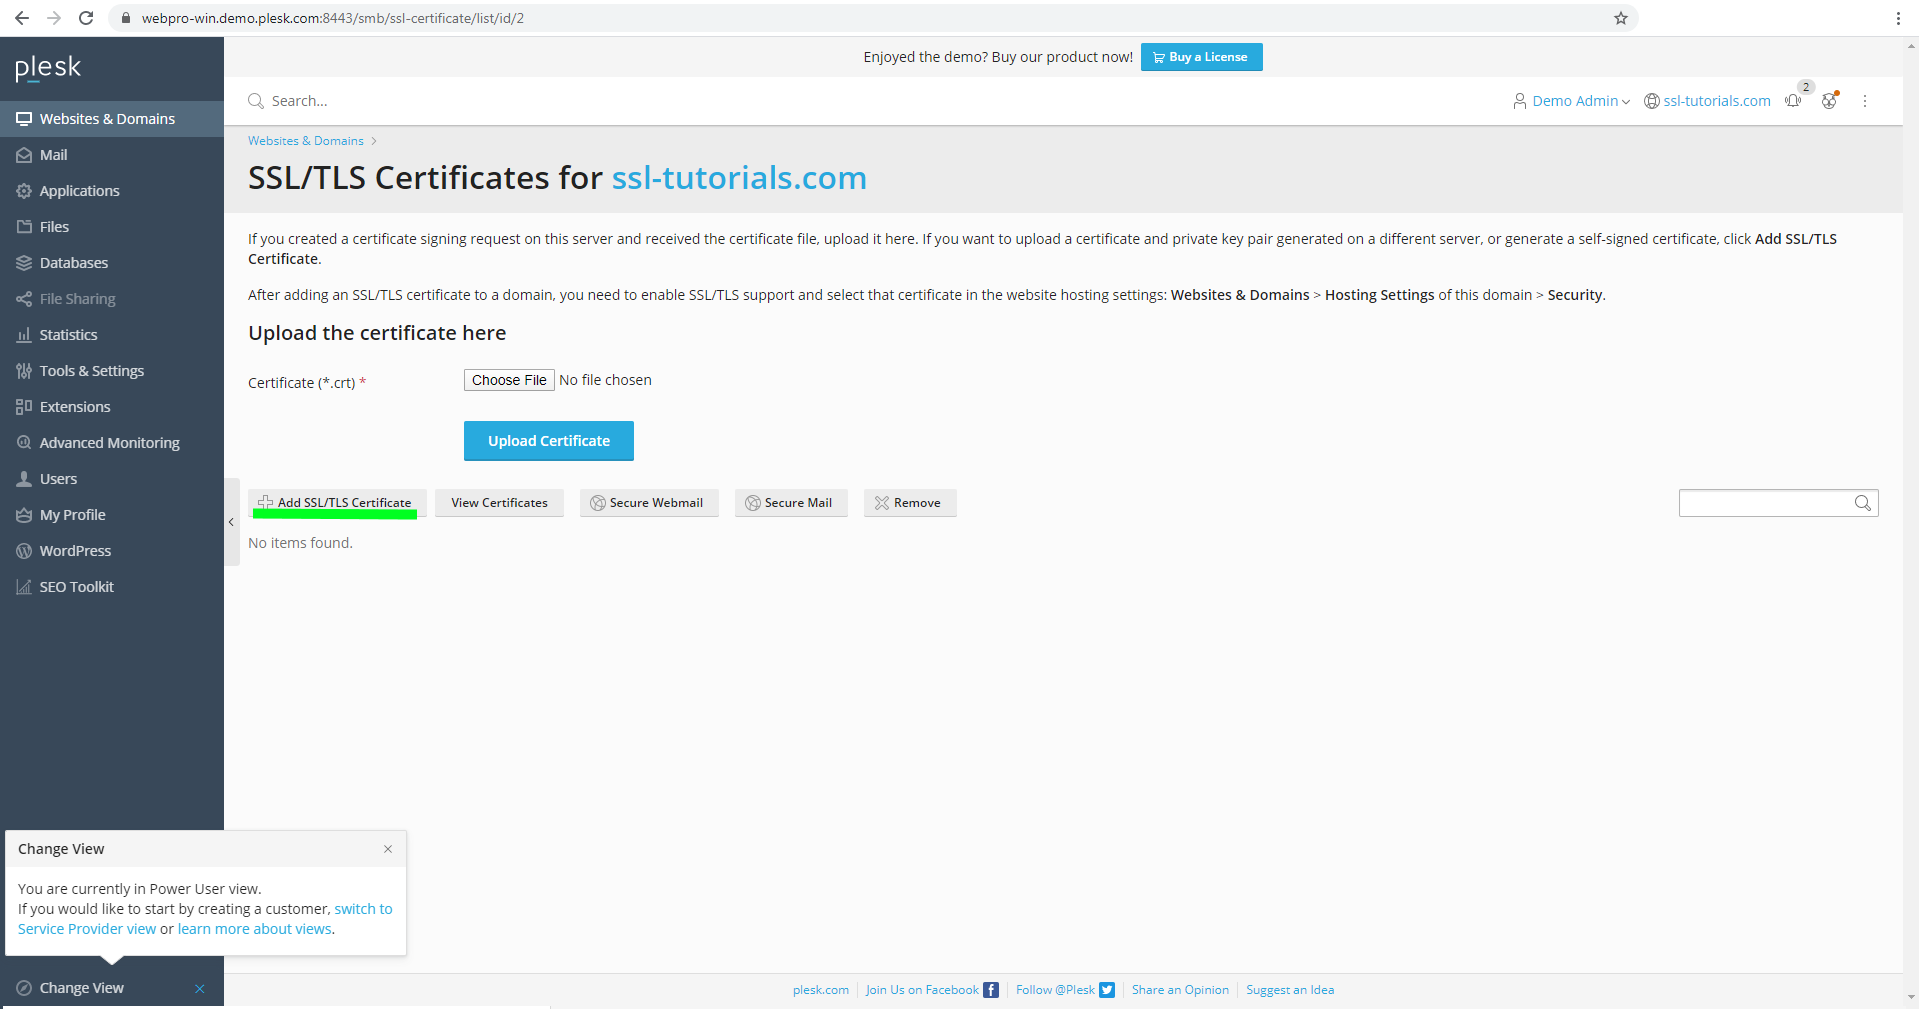
- Choose the Add SSL/TLS Certificate option to add a new Certificate entry. Note: Once generated, this entry will contain all relevant Certificate information: Private key; CSR code; end-entity Certificate; and a chain of CA Certificates.
- On the new page, enter a Certificate Name for your new SSL Certificate so it is possible to recognize it among other SSLs on the server.
Further down the page you will find a form. You need to fill in this form with information about your domain for your CSR code:- Country: choose your country from the drop-down list;
- State or province: enter your state or region;
- Location (city): enter your city or locality;
- Organization name (company): enter your company name. If you have an Organization or Extended Validation SSL, Certificate Authorities will verify the company information supplied in the CSR code. For Domain Validation SSLs, company information is not included in the issued Certificate, therefore you can write N/A for DV Certificates, if you do not have a company.
- Organization department or division name: enter the name of the department within the company you entered in the previous section;
- Domain name: enter the domain name you want to secure with the SSL Certificate;
Note: If you have a Wildcard Certificate, please use the asterisk symbol in front of the domain name (e.g. *.example.com).
Note: To secure a webmail service on Plesk with the Certificate (this option is available in newer Plesk versions), use the webmail subdomain as the domain name. I.e. webmail.example.com. - Email: input your email address.Note: This address will not be used by the Certificate Authority in any way for the validation or delivery of the issued Certificate.
Once all the sections have been filled in, click Request.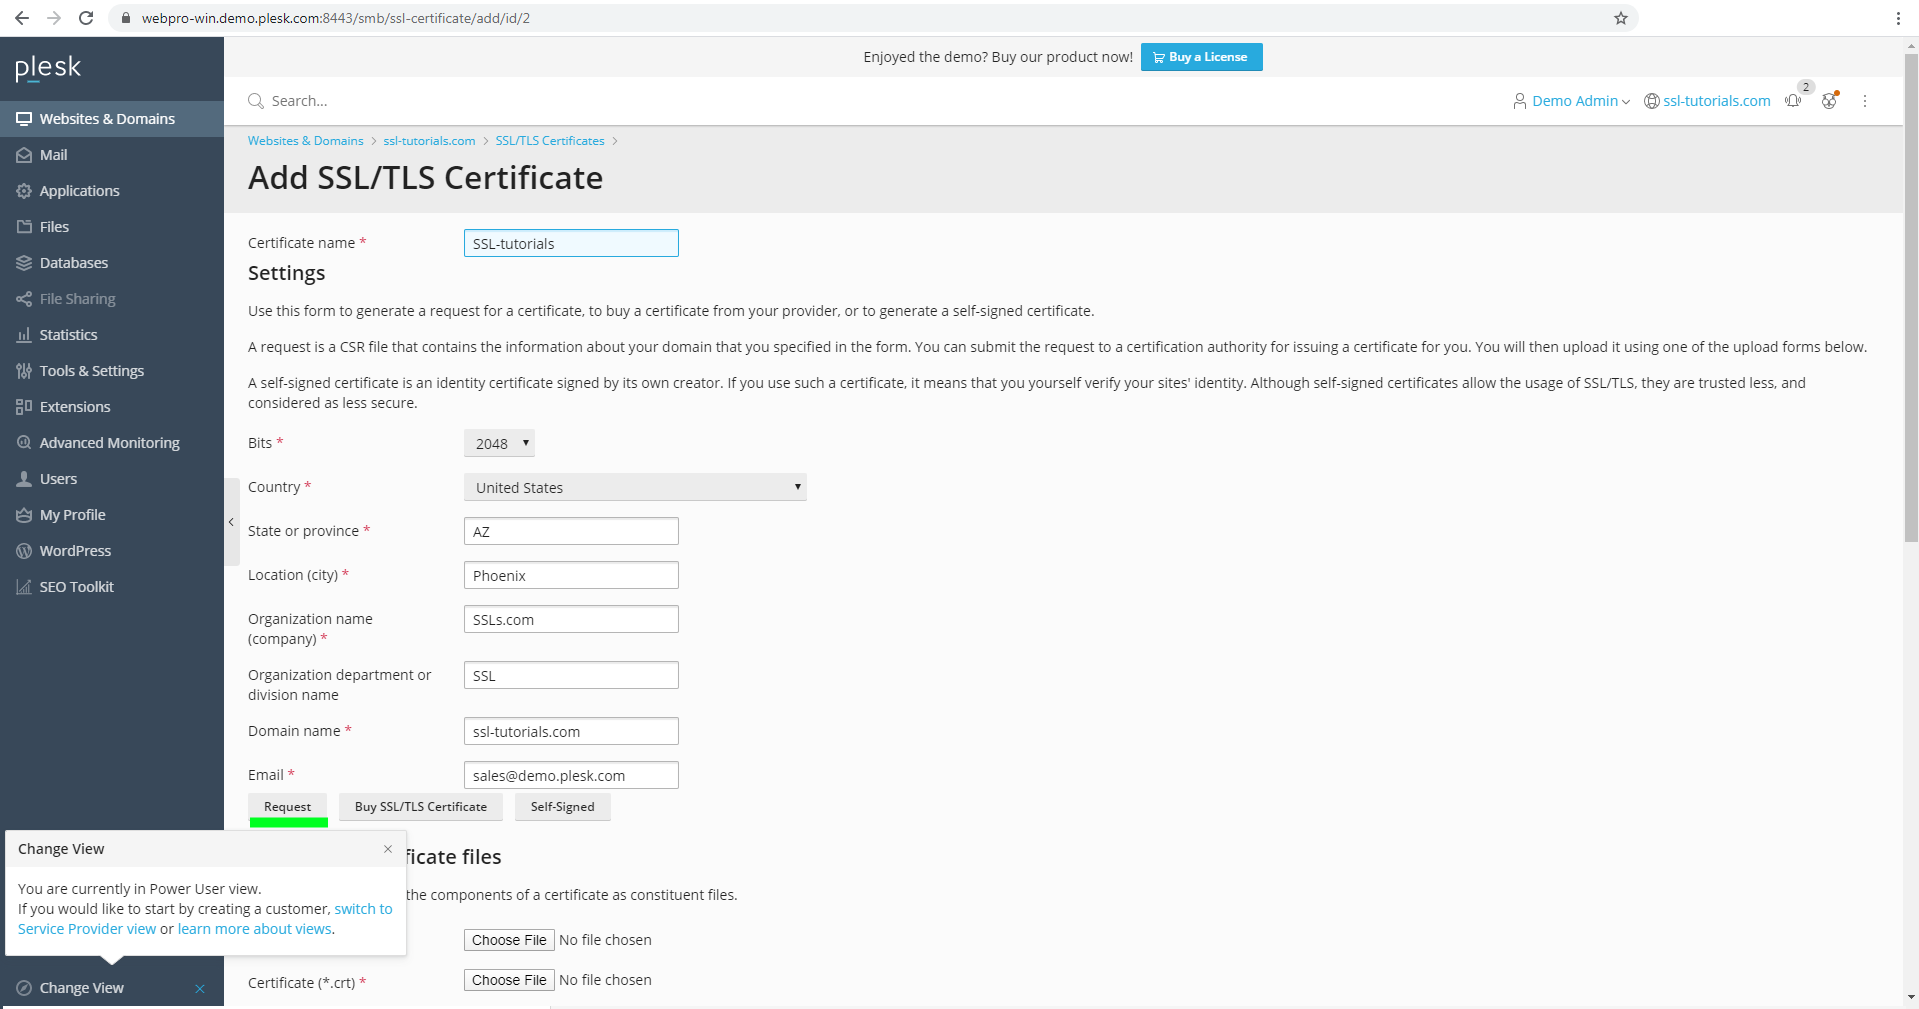
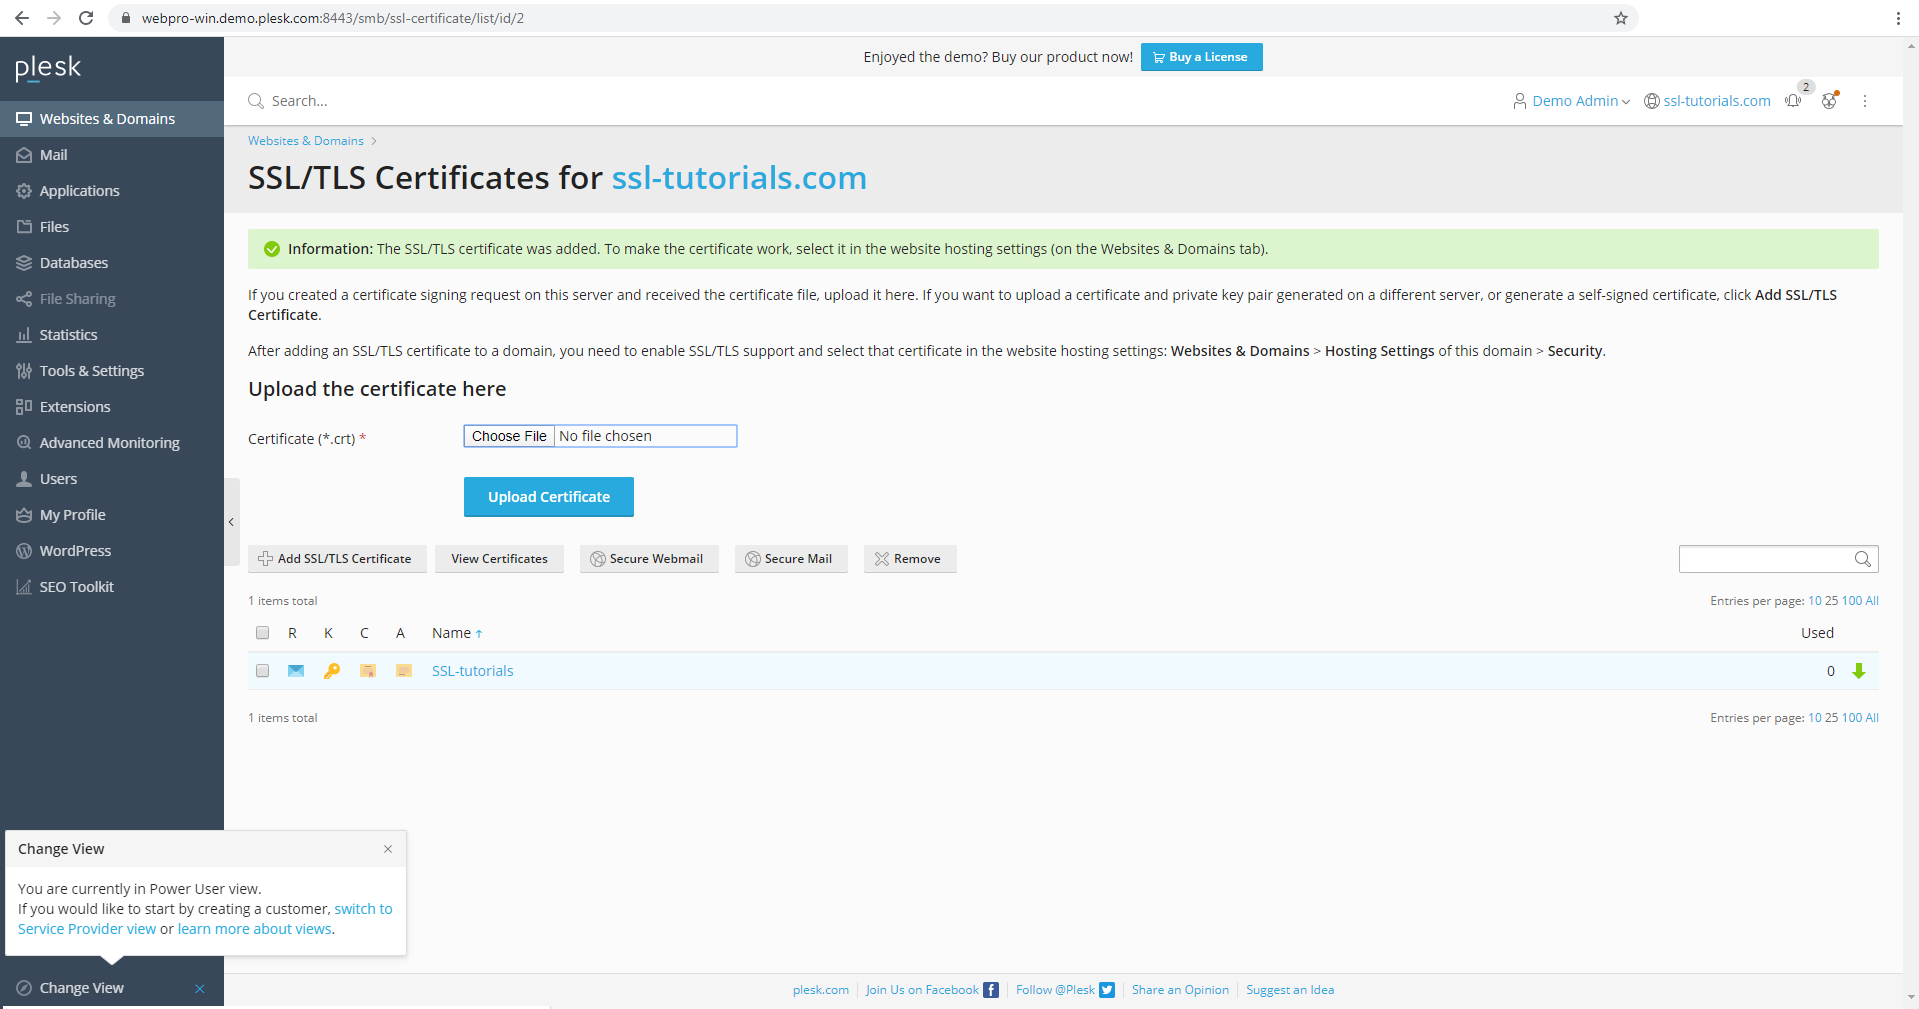
- A CSR code will be generated and you’ll be taken to the page with the list of SSL Certificates for your domain.
Along with the CSR code, the (RSA) Private key will be generated. The Private key will be needed for the Certificate installation.
To view both codes, click on the Certificate entry in the list of Certificates. You’ll find both the CSR code and Private key at the bottom of the page.
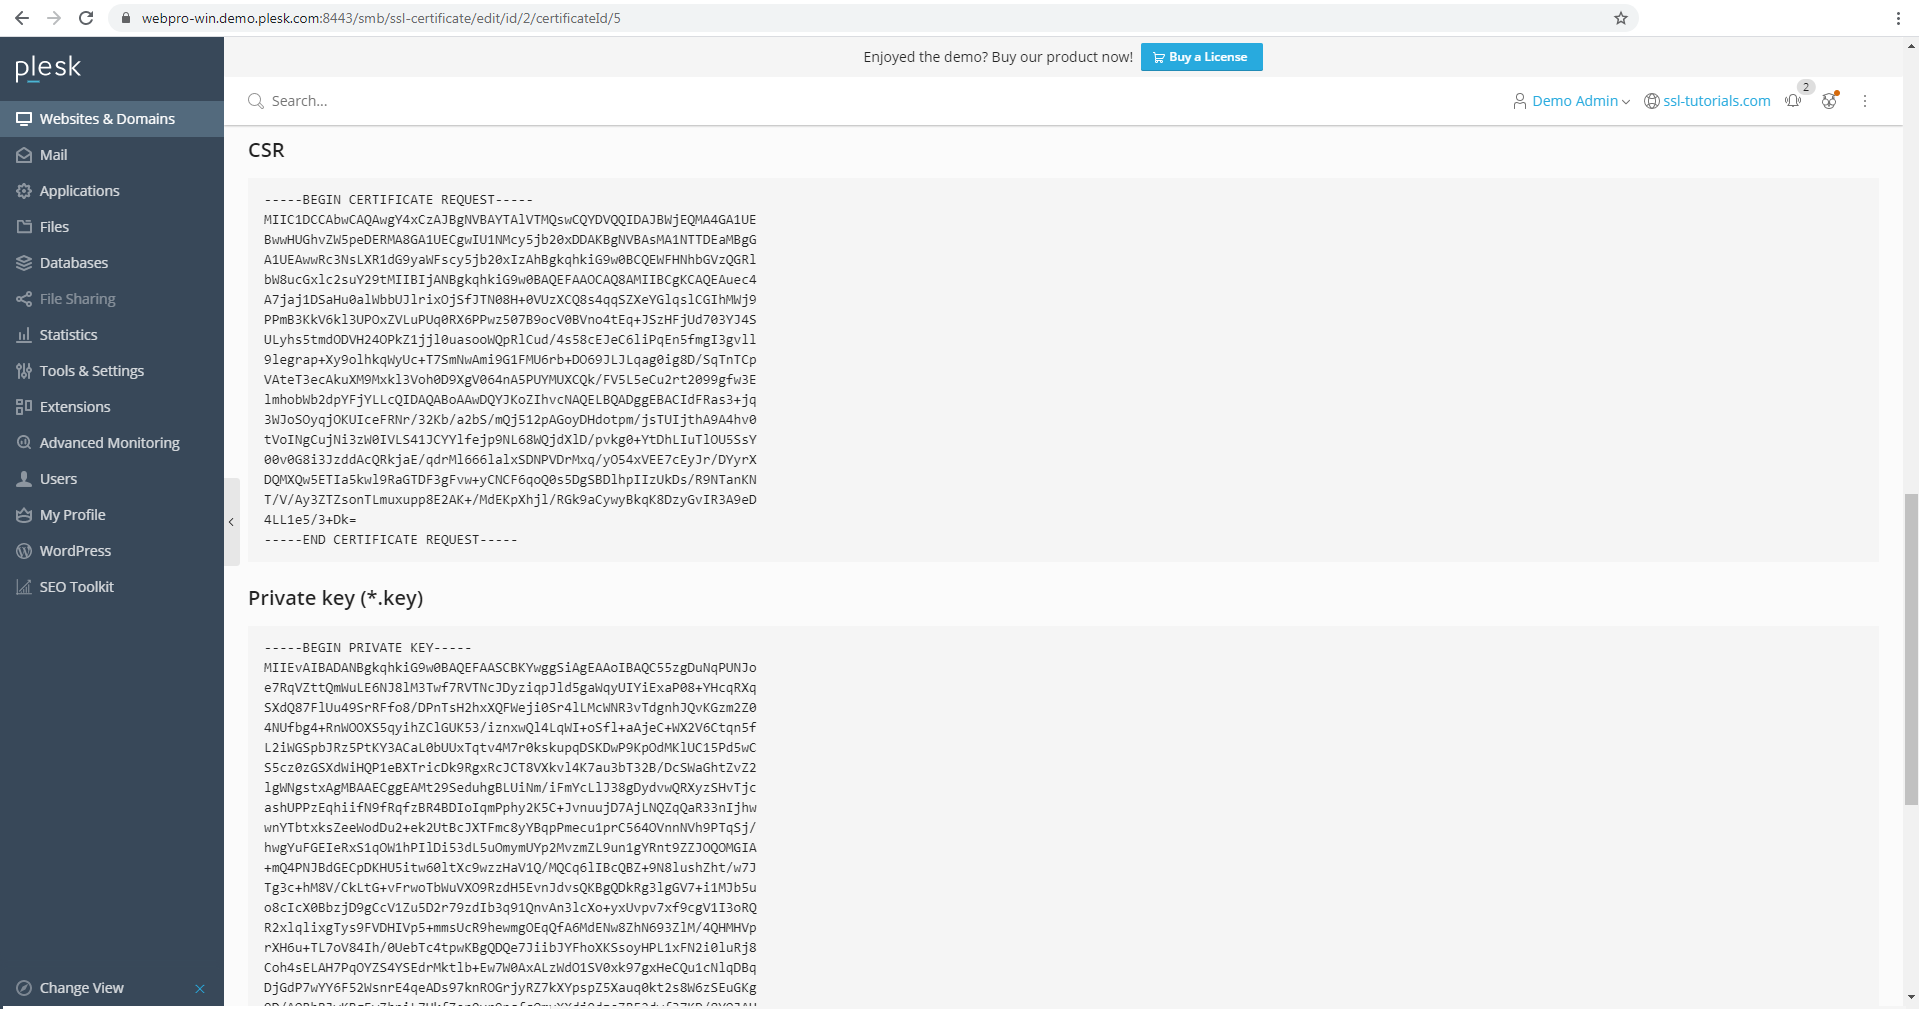
- Copy the whole CSR including the —–BEGIN CERTIFICATE REQUEST—– and —–END CERTIFICATE REQUEST—– headers and paste the code into the activation form on our site. Note: Ensure you do not delete the Certificate entry in the SSL/TLS Certificates menu. It contains the Private key that will be needed for the Certificate installation when your Certificate is ready.